
Disclosure: This post about how to puppy proof your home contains affiliate links. If you click through and make a purchase, I may earn a commission — at no extra cost to you. I only recommend products and courses I genuinely believe in, and all opinions expressed here are my own.
If you’re reading this, you need to know how to puppy proof your home — either before the puppy arrives or because things are already more chaotic than expected. Either way, you’re in the right place.
Knowing how to puppy proof your home properly is one of those things that sounds simple until you’re actually doing it.
Most guides hand you a checklist of hazards to remove. That’s genuinely useful. But they tend to skip the more important question: why does a puppy do any of these things in the first place?
And if you understand that, the whole process makes a lot more sense — and you’ll make better decisions about what to change.
Why Puppies Destroy Things (And Why That’s the Right Starting Point)
Puppies don’t destroy things out of spite.
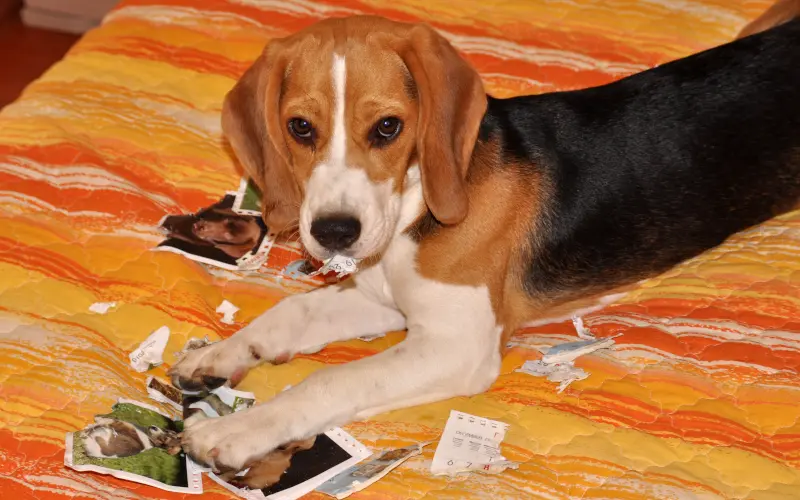
They do it because chewing, mouthing, pulling, and exploring are exactly how a young animal learns about their world. It’s a developmental phase, not a character flaw.
Every object a puppy investigates with their mouth is a piece of information. Texture, taste, smell, structural integrity — it all gets filed away. Your job isn’t to stop this process. It’s to redirect it toward things that won’t hurt them or cost you money.
This matters because it changes how you think about the task.
Puppy proofing isn’t just about removing dangers. It’s about building an environment where the puppy’s natural drive to explore can happen safely.
The physical setup of your home in the first few weeks does more training work than you might expect. A puppy who never had access to the electrical cords behind your TV never learned that cords are interesting. That’s a training win that costs you nothing except ten minutes with a cord cover.
This impulse to investigate everything connects directly to why dogs chew furniture when left unsupervised — the same drive, the same need for redirection.
How to Puppy Proof Your Home: The Real Priorities
Most hazard lists cover everything at once, which can feel overwhelming. In practice, the risks fall into a few clear categories worth addressing in order of urgency.
Toxic Substances
The first and most serious are toxic substances. These include obvious ones:
- cleaning products
- medications
- pest control poisons
…but also things many owners don’t think about.
- Xylitol is found in most sugar-free gum and some peanut butters. It’s extremely toxic to dogs. Purses and backpacks left at floor level are a common vector.
- Chocolate
- grapes
- raisins
- onions
- macadamia nuts
…are common kitchen hazards.
Some houseplants — peace lilies, pothos, sago palms — are toxic too. The ASPCA has a comprehensive plant list worth bookmarking. None of these items need to be discarded. They just need to be moved beyond reach, which for a growing puppy means higher than you might assume.
Physical Hazards
The second priority is physical hazards.
- Electrical cords are genuinely dangerous — a puppy chewing through a live wire can be electrocuted. Use cord covers, run wires through furniture, or unplug anything you’re not actively using.
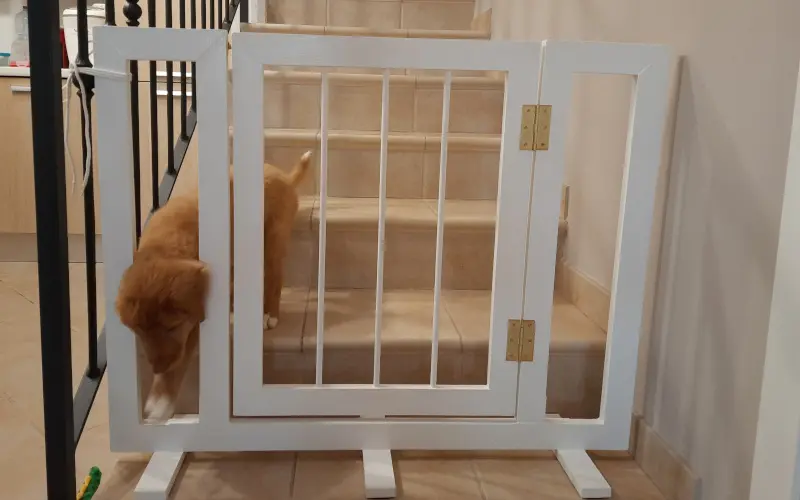
- Stairs are a fall hazard for young puppies whose coordination is still developing. Baby gates earn their place here.
- Small items — coins, buttons, rubber bands, children’s toys — are choking hazards and potential intestinal obstructions.
The rule of thumb: if it fits in a puppy’s mouth and swallowing it would worry you, it goes out of reach.
The Destruction Zone
The third priority is the destruction zone. These are the things your puppy will almost certainly find and mouth that aren’t dangerous but that you care about.
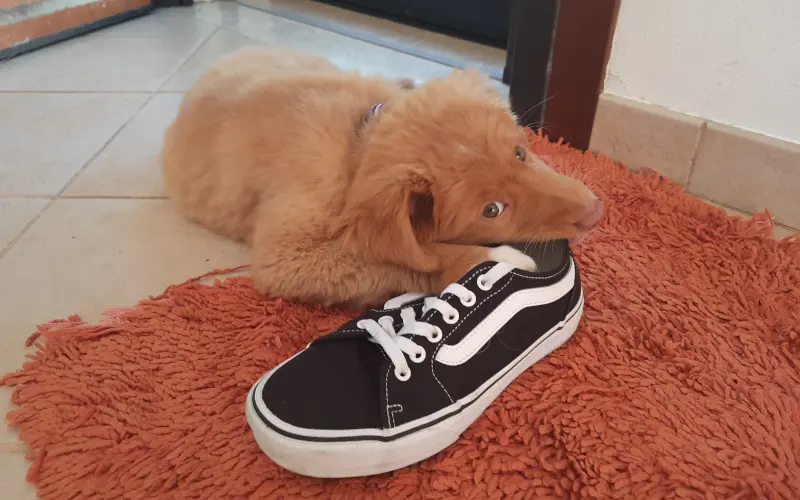
- Shoes left by the door
- books on low shelves
- throw pillows on the floor
Move what you love. Accept that what you leave at puppy level is what you’re offering for exploration.
How to Puppy Proof Your Home: The One Room Most People Set Up Wrong
Almost every guide tells you to limit your puppy’s access to one area at first, which is correct. Fewer guides explain why in a way that changes how you set it up.
A puppy given the run of a large house is overwhelmed. They can’t monitor it, can’t control it, and can’t yet understand the rules of it. It’s not kindness — it’s confusion.
Starting with one well-prepared room gives the puppy a space they can actually map. That supports their sense of security and makes house training significantly more manageable.
The ideal starter space is easy to clean — tile or hardwood, not carpet. It should have no hidden corners behind appliances where a puppy can get stuck.
Everything they need should be within view: a bed or crate, water, and appropriate chew toys. The space should feel complete, not sparse. You’re not caging them — you’re giving them a territory they can actually understand.
A puppy playpen is one of the best investments for this phase. It’s especially useful for apartment owners or anyone working from home who needs a safe containment option that doesn’t involve closing doors.
Setting it up before the puppy arrives means their first experience of that space is neutral rather than reactive.
Creating the Den: Why This Matters More Than Most People Know
Before a puppy arrives, set up their sleeping space and let them own it before anything stressful happens. This single step pays off more than almost anything else.
A crate introduced as a comfortable, reward-associated space from day one becomes a genuine retreat. It becomes somewhere the puppy chooses to go when overwhelmed. A crate introduced reactively, because the owner needed somewhere to put them, takes much longer to become that.
The crate or bed should be in a quiet corner, not in the middle of traffic.
It should have something with a familiar smell — a small piece of fabric from the breeder, if possible. And it should never be used as punishment.
The den is the one space in the entire house where nothing bad happens to the puppy. This is also the foundation for teaching your puppy to sleep through the night without distress.
Protecting that association from the beginning is worth the effort.
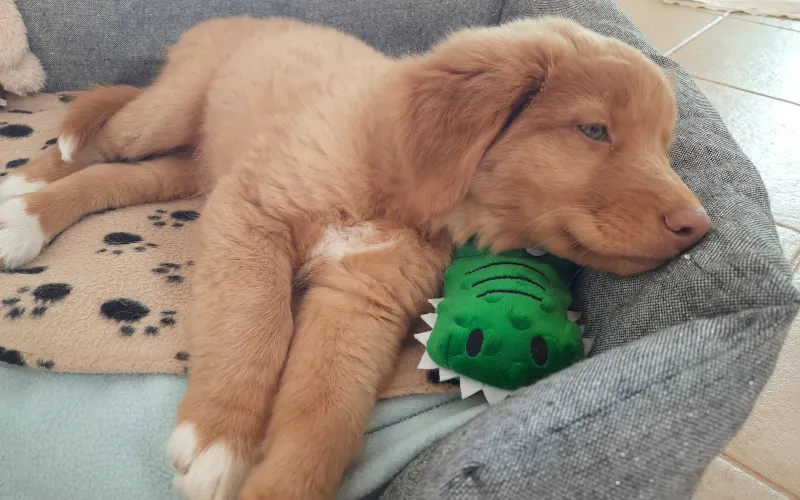
The Garden and Outdoor Spaces
If you have a yard or any outdoor access, it needs the same scrutiny as the indoors.
- Check the perimeter for gaps a small puppy can squeeze through — you’ll be surprised what they’ll attempt.
- Remove or fence off any standing water.
- Check for toxic plants, which are just as dangerous outside as in.
The yard is not a substitute for interaction. A puppy left alone outside too long doesn’t get enriched — they get bored, which usually leads to digging, barking, or escape attempts.
Outdoor time is valuable. Outdoor time without supervision or engagement, especially in the early weeks, is a different thing.
How to Puppy Proof Your Home: What the Checklist Can’t Replace
Here’s where I’ll add something you won’t find on most checklists. The most dangerous period for household destruction isn’t the first week. It’s the period around four to six months. By then, the puppy has grown enough to reach things they couldn’t before. Their teeth are bothering them again with the second round of teething. Their exploration drive peaks once more.
A well-prepared home — and knowing how to puppy proof your home thoroughly — reduces risk significantly. But there is no physical arrangement of your house that substitutes for supervision and training during this phase.
A puppy who chews furniture when left unsupervised is telling you they’re not yet ready to be unsupervised. The house setup creates the conditions. Training fills the gap.
This is worth taking seriously. The period between bringing a puppy home and having a genuinely reliable, trustworthy house companion is longer than most first-time owners expect.
Building that relationship is a process with real stages. The specific skills that make a dog safe to have around a house don’t come from a checklist you complete once and move on from. Patience during this phase isn’t passive — it’s what consistent, steady training actually looks like from the inside.
If you want a clear, structured framework for all of this — the foundation skills that prevent problems before they start — the Total Transformation Masterclass is built around exactly this kind of owner-side preparation.
The free webinar is a good place to start if you want to see whether the approach fits how you think about training.
Has puppy proofing ever turned up a surprise in your home — something you hadn’t thought of until a puppy found it first? Drop a comment below. I’d genuinely like to hear about it 🙂